How to migrate your WordPress site if you’ve hit the upload size limit
Note: this method works as of April 2020.
The universally recommended plugin for WordPress migration is All-In-One WP Migration. This plugin will create a site file that contains all parts and aspects of your WordPress site, which you can then upload on your new live site. Unfortunately, if the generated site file is larger than 512 MB, you cannot upload the site file to your new site without paying to remove this cap.
The site I was developing turned out to be a 880MB site file, and after some research on various sites, comments, and videos, I learned how to get around the limit and upload it.

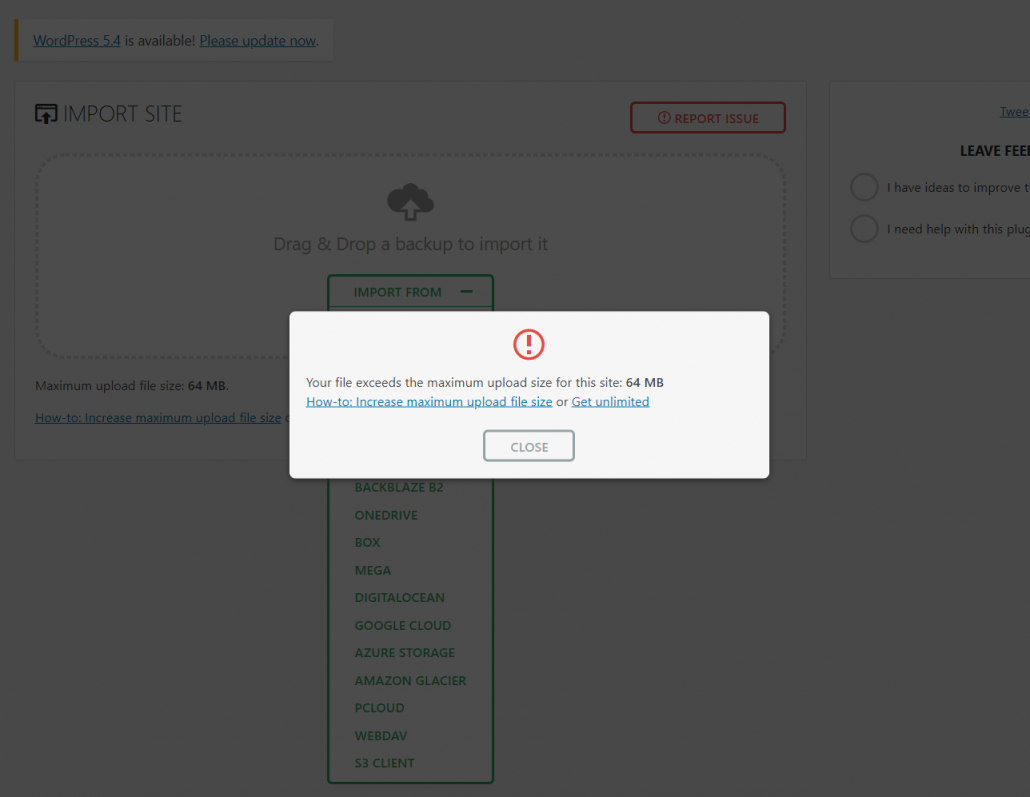
At first, the plugin will tell you that 64 MB is the upload limit, then it will suggest that you either edit some configuration files, or download their “extension” plugin which increases the file size limit to 512 MB.
You can ignore all this.
There is an older version of All-In-One WP Migration that can be easily modified to increase your upload limit to anything you want. This method works even if you’ve exported your site file using the latest version of the plugin (confirmed as of April 2020).
- First, deactivate and delete the All-In-One WP Migration plugin (and its extension, if you installed it).
- Next, you’ll need to download the old version, which is located on github:
- In order to download a directory from github, you’ll first need to install the Chrome extension gitzip. Make sure you’re using actual Google Chrome, because it didn’t work for me with Vivaldi, which is a Chrome spinoff.
- …And in order to use gitzip to download a large number of files, you’ll need to authorize it with github. Make sure you’re logged into github (create an account if you don’t have one already), then click the gitzip browser button, click “Normal”, then authorize it.
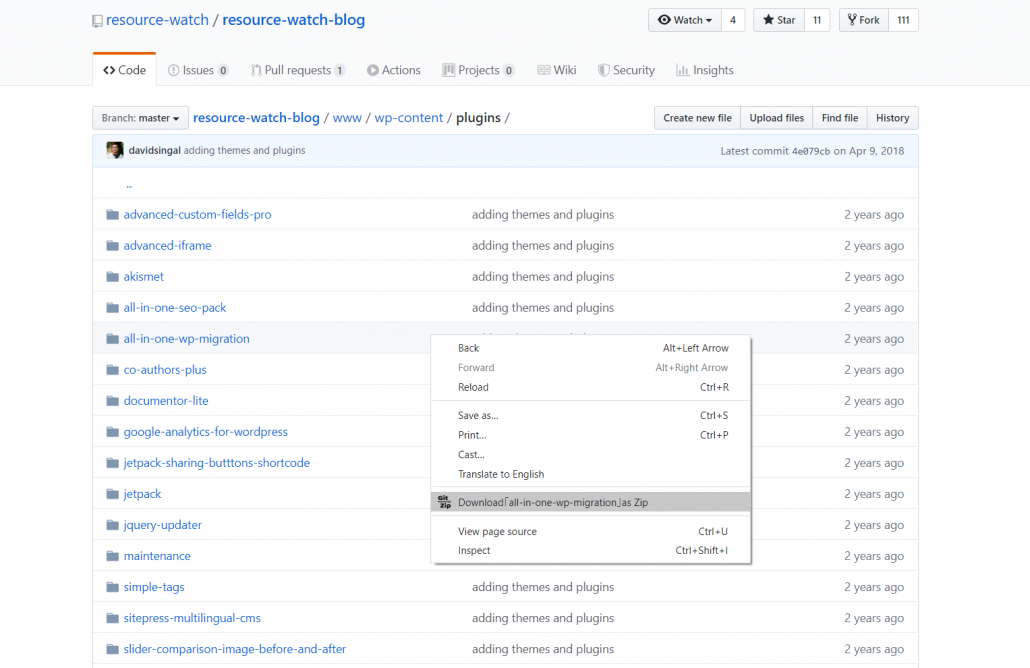
- Now go to this page to find the old version of All-In-One WP Migration, among a long list of other plugins.
- Do not click on the name of the plugin. You have to right-click on the empty blank space to the right of it, then select the GitZip option in your context menu.

- The older version of All-In-One WP Migration will download to your computer as a zip file, which is convenient because it’ll be in the format WordPress needs it.
- In WordPress, go to Plugins > Add New > Upload Plugin, and upload this zip file and activate it.
- Now to modify the plugin so that it accepts larger uploads. This page outlines the steps in detail, but I’ll repeat them here:
- Go to Plugins > Plugin Editor, and on the right of this page, select the new plugin, and click “Select” to load its files.
- On the right sidebar, select “constants.php”
- Scroll down to line 249, which is the setting called “Max File Size”
- Add “* 20” after the long number, so that it becomes
define( 'AI1WM_MAX_FILE_SIZE', 536870912 * 20 );
- Click Update File at the bottom of the page to save this change to the plugin.
- Now go and upload your site file. Your site should now be migrated and ready to use.

You can of course change this upload limit to anything you want by editing the number “20” in the code above.
This worked perfectly for me and I was able to migrate the new site.
When you’re done, feel free to delete the WordPress plugin and remove the Chrome extension you installed earlier.
